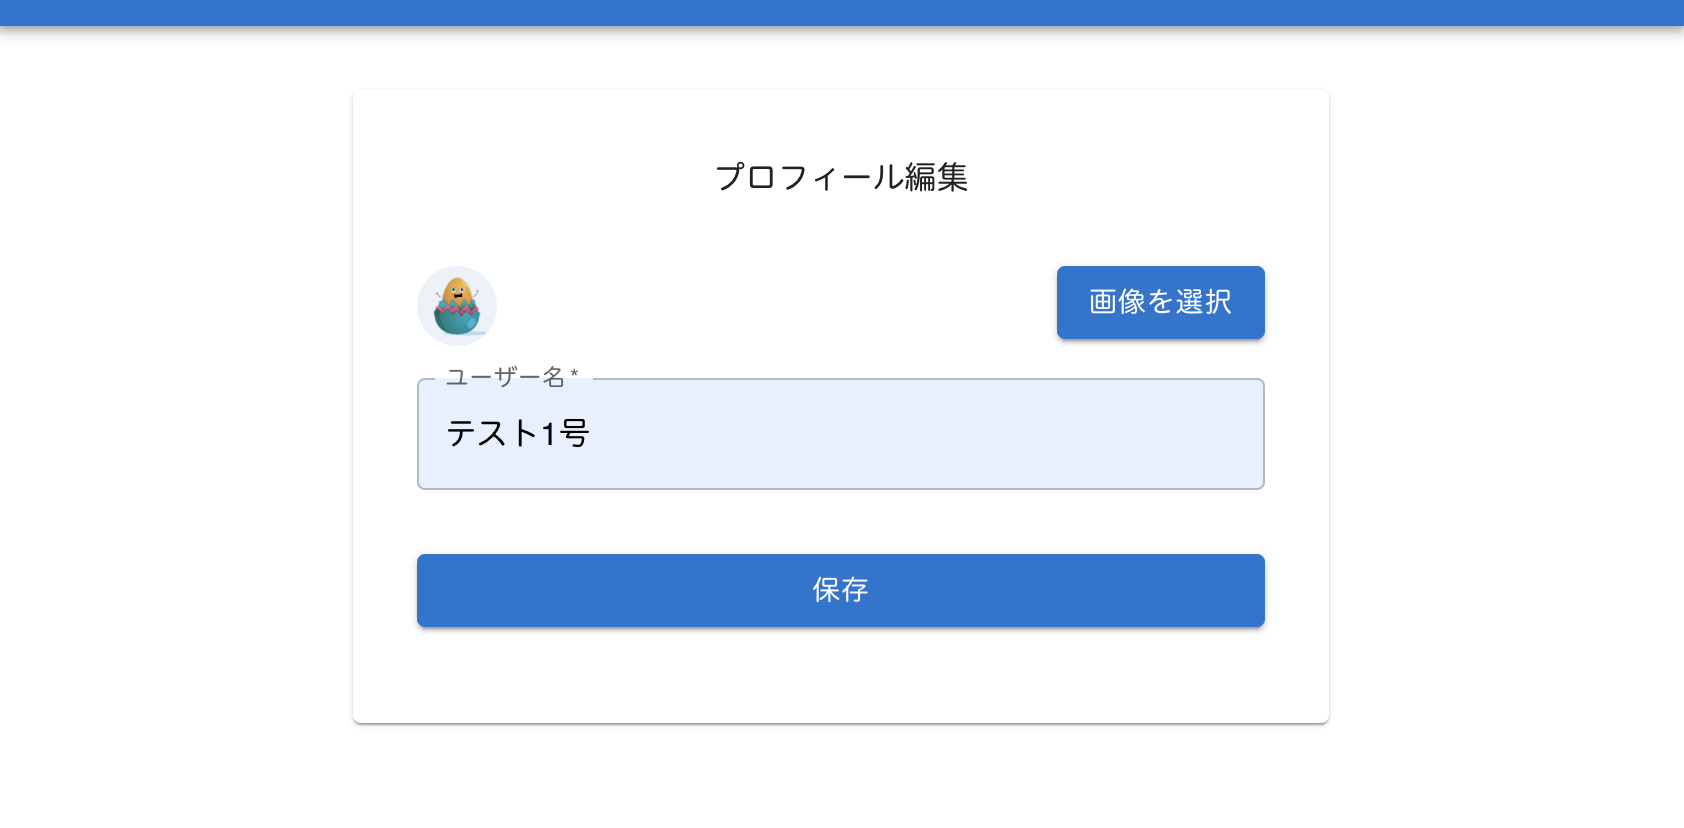
前回は、プロフィール画面を作成し、Firestore Storage にアバター画像を保存しました。

【Firebase】プロフィール編集画面を作成し、Firestore Storageにアバター画像を保存する
今回は、プロフィール画面で作成したユーザー情報を、Firestore Database に保存します。
前回作成した、handleSubmitのuploadBytesの後、画像の URL を取得するコードを作成します。
画像の URL を取得するために、firebase/storageからgetDownloadURLをインポートします。
tsx
import { ref, uploadBytes, getDownloadURL } from "firebase/storage";
getDownloadURLに前回設定したimageRefを指定します。
tsx
const handleSubmit = async (event: React.FormEvent<HTMLFormElement>) => {
event.preventDefault();
try {
if (image) {
const imageRef = ref(firestorage, image.name);
uploadBytes(imageRef, image).then(() => {
getDownloadURL(imageRef).then((url) => {
console.log(url);
});
});
}
} catch (err) {
console.log(err);
setError(true);
}
};
画像を選択して、『保存』をクリックすると、

画像の URL を取得できました。
次に、ユーザー情報と FIrebase Authentication を紐づけたいので、Authentication で uid を取得します。
hooks フォルダにユーザー情報を取得するフックを作成しましょう。
認証情報を取得するには、getAuthを使用します。
firebase/authからgetAuthをインポートしましょう。
jsx
import { getAuth } from "firebase/auth";
useAuth.js でuseUser関数を作成します。
getAuthで認証情報を取得しましょう。
jsx
export const useUser = () => {
const auth = getAuth();
};
認証プロフィールを取得するために、authのcurrentUserを指定します。
jsx
export const useUser = () => {
const auth = getAuth();
const user = auth.currentUser;
};
userが存在する場合、emailとaccessTokenを取得し、返します。
user存在しない場合、そのままuserを返しましょう。
jsx
export const useUser = () => {
const auth = getAuth();
const user = auth.currentUser;
if (user !== null) {
const email = user.email;
const accessToken = user.accessToken;
const userInfo = {
email,
uid,
};
return { user: userInfo };
} else {
return { user };
}
};
Profile.tsx で、useUserをインポートします。
jsx
const { user } = useUser();
userを console.log で確認すると、

uidを取得することができました。
userからuidを取得しましょう。
tsx
const handleSubmit = async (event: React.FormEvent<HTMLFormElement>) => {
event.preventDefault();
try {
const uid = user.user!.uid;
if (image) {
const imageRef = ref(firestorage, image.name);
uploadBytes(imageRef, image).then(() => {
getDownloadURL(imageRef).then((url) => {
console.log(url);
});
});
}
} catch (err) {
console.log(err);
setError(true);
}
};
最後に、Firebase Database へユーザー情報を保存するようにします。
以前作成した firebaseAppk の firestore を使用します。
tsx
const firestore = firebaseApp.firestore;
どの Firebase Database に設定するため、firebase/firestoreからcollectionをインポートします。
tsx
import { collection } from "firebase/firestore";
collection に先程作成した firestore と Firebase Database に保存したい場所、今回は『users』を指定します。
tsx
try {
const uid = user.user!.uid;
const docRef = collection(firestore, "users");
if (image) {
const imageRef = ref(firestorage, image.name);
uploadBytes(imageRef, image).then(() => {
getDownloadURL(imageRef).then(url) => {
console.log(url);
});
});
}
} catch (err) {
console.log(err);
setError(true);
}
Firebase Database に保存する内容を設定するため、firebase/firestoreからaddDocをインポートします。
tsx
import { addDoc, collection } from "firebase/firestore";
addDocの第一引数に先程作成したdocRef、第二引数にname、image、uidを指定します。
imageには、urlを指定しましょう。
tsx
if (image) {
const imageRef = ref(firestorage, image.name);
uploadBytes(imageRef, image).then(() => {
getDownloadURL(imageRef).then(async (url) => {
await addDoc(docRef, {
name,
image: url,
uid,
});
});
});
}
image がない場合も、設定しておきましょう。
tsx
if (image) {
const imageRef = ref(firestorage, image.name);
uploadBytes(imageRef, image).then(() => {
getDownloadURL(imageRef).then(async (url) => {
await addDoc(docRef, {
name,
image: url,
uid,
});
});
});
} else {
await addDoc(docRef, { name, image: "", uid });
}
では、動作確認してみましょう。

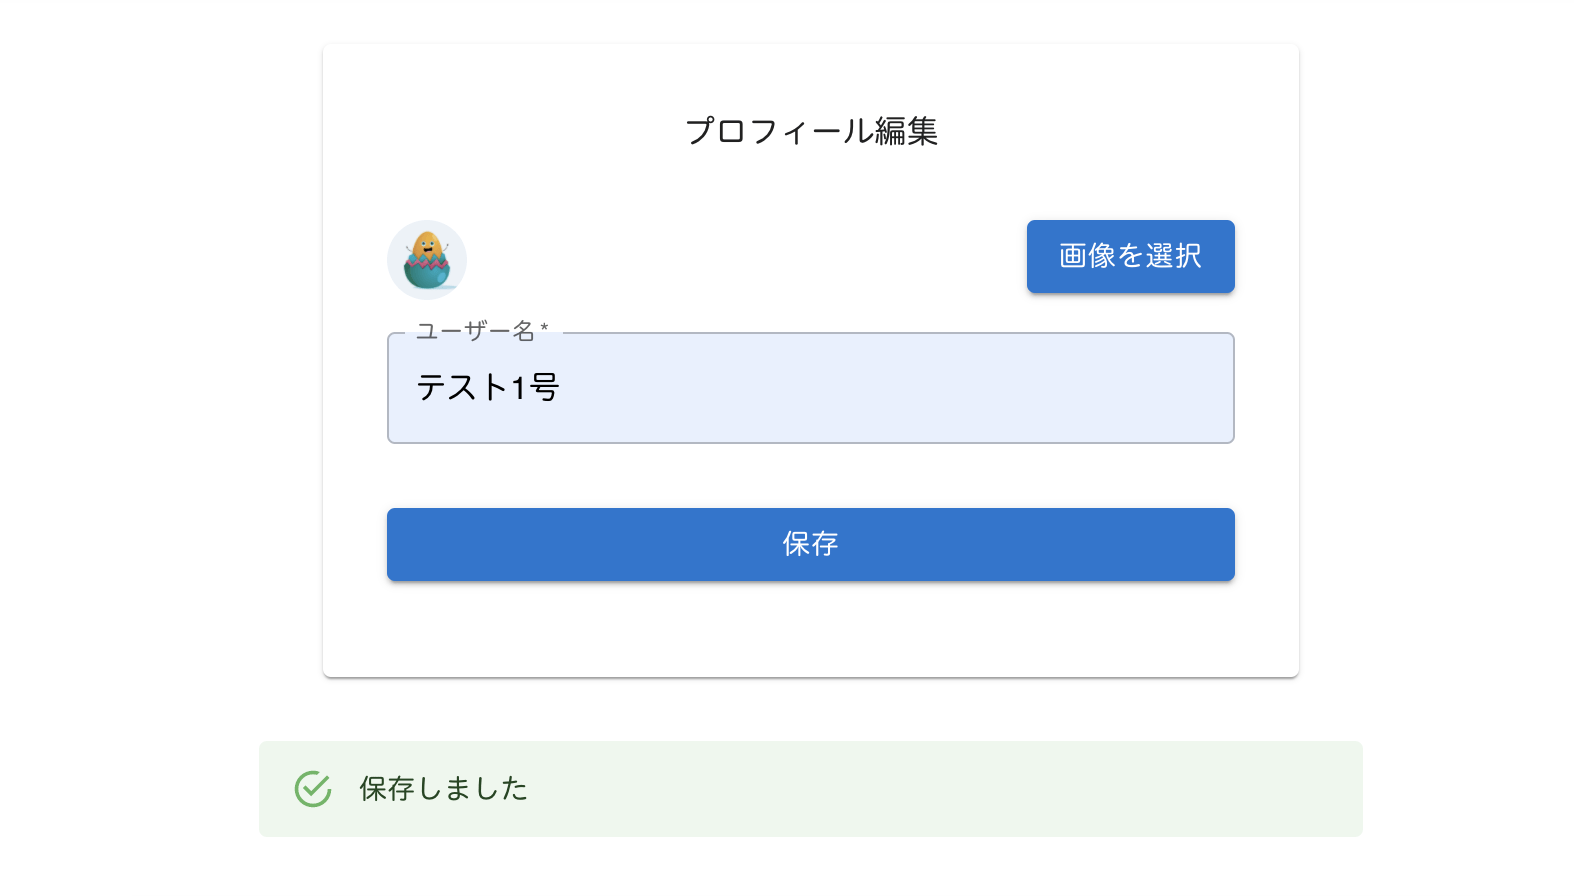
『保存』をクリックすると、

成功したメッセージが表示されました。
Firebase Database を確認すると、

ユーザー情報を保存することができました。
次回は、プロフィール画面にデフォルトでユーザー情報を表示します。

【Firebase】プロフィール画面にデフォルトでユーザー情報を表示する


