前回は、Firestore Database を使い、React でメッセージ送信機能を実装しました。

【Firebase】Firestore Databaseを使い、Reactでメッセージ送信機能を実装する
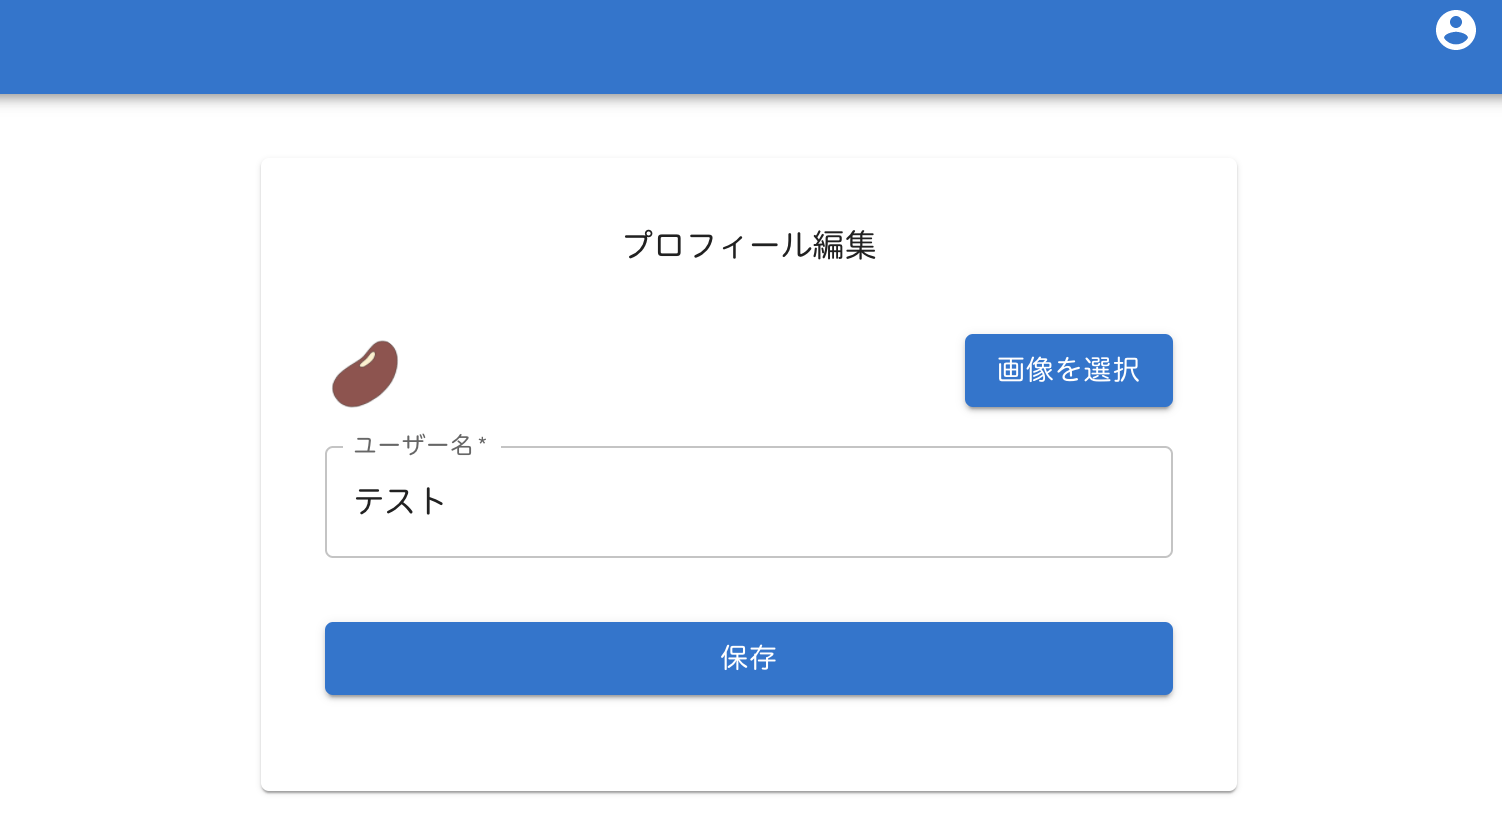
今回は、プロフィール編集画面を作成し、Firestore Storage にアバター画像を保存します。
まずは、ヘッダーのプロフィールをクリックすると、プロフィール画面へ遷移するようにします。
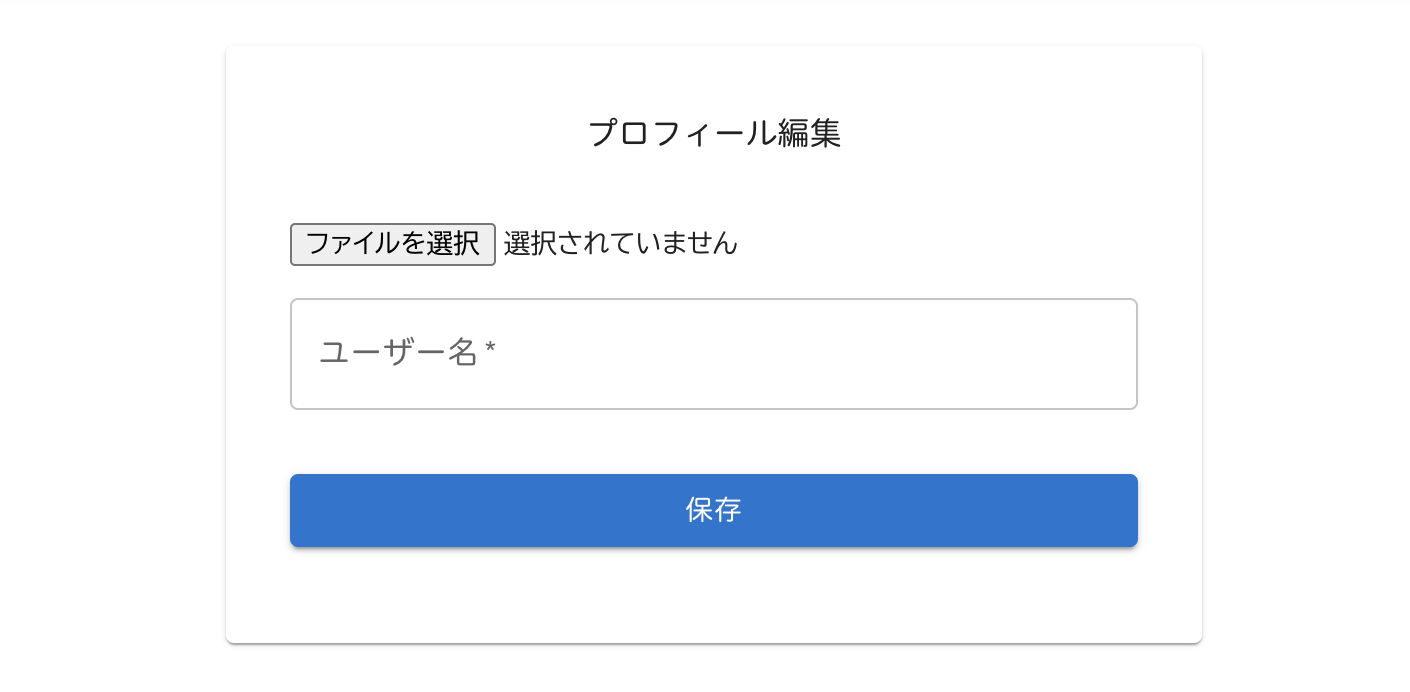
MUI でプロフィール画面を作りましょう。
tsx
import React, { useState } from "react";
import {
Paper,
Typography,
Box,
TextField,
Button,
Container,
} from "@mui/material";
const Profile = () => {
const [name, setName] = useState("");
const handleChange = (e: React.ChangeEvent<HTMLInputElement>) => {
console.log(e.target.files);
};
const handleSubmit = (event: React.FormEvent<HTMLFormElement>) => {
event.preventDefault();
};
return (
<Container maxWidth="sm">
<Paper sx={{ m: 4, p: 4 }}>
<Typography align="center">プロフィール編集</Typography>
<Box component="form" onSubmit={handleSubmit} noValidate sx={{ mt: 4 }}>
<input type="file" accept="image/*" onChange={handleChange} />
<TextField
margin="normal"
required
fullWidth
id="name"
label="ユーザー名"
name="name"
autoComplete="name"
autoFocus
value={name}
onChange={(e) => setName(e.target.value)}
/>
<Button
type="submit"
fullWidth
variant="contained"
sx={{ mt: 3, mb: 2 }}
>
保存
</Button>
</Box>
</Paper>
</Container>
);
};
export default Profile;
次に、react-router-domでプロフィール画面のパスを作成します。
App.tsx へ移動し、Routeを追加します。
tsx
<Route path="profile" element={<Profile />} />
Header.tsx へ移動し、リンクを設定しましょう。
tsx
<MenuItem onClick={handleClose}>
<Link href="profile" underline="none" color="inherit">
プロフィール
</Link>
</MenuItem>
プロフィール画面もヘッダーを表示させたいので、App.tsx でホーム画面とプロフィール画面のみヘッダーを表示するようにします。
react-router-domからOutletをインポートします。
tsx
import { BrowserRouter, Routes, Route, Outlet } from "react-router-dom";
Outletがchildrenみたいな役割を果たしてくれます。
Layout関数を作成します。
Layout関数の中にHeaderとOutletを設定します。
tsx
function Layout() {
return (
<>
<Header />
<Outlet />
</>
);
}
App関数のRoutesの中にLayoutを設定します。
tsx
function App() {
return (
<ThemeProvider theme={theme}>
<BrowserRouter>
<Routes>
<Route element={<Layout />}>
<Route path="/" element={<Home />} />
<Route path="profile" element={<Profile />} />
</Route>
<Route path="login" element={<Login />} />
<Route path="signup" element={<Signup />} />
<Route path="password-reset" element={<PasswordReset />} />
</Routes>
</BrowserRouter>
</ThemeProvider>
);
}
プロフィール画面を確認すると、
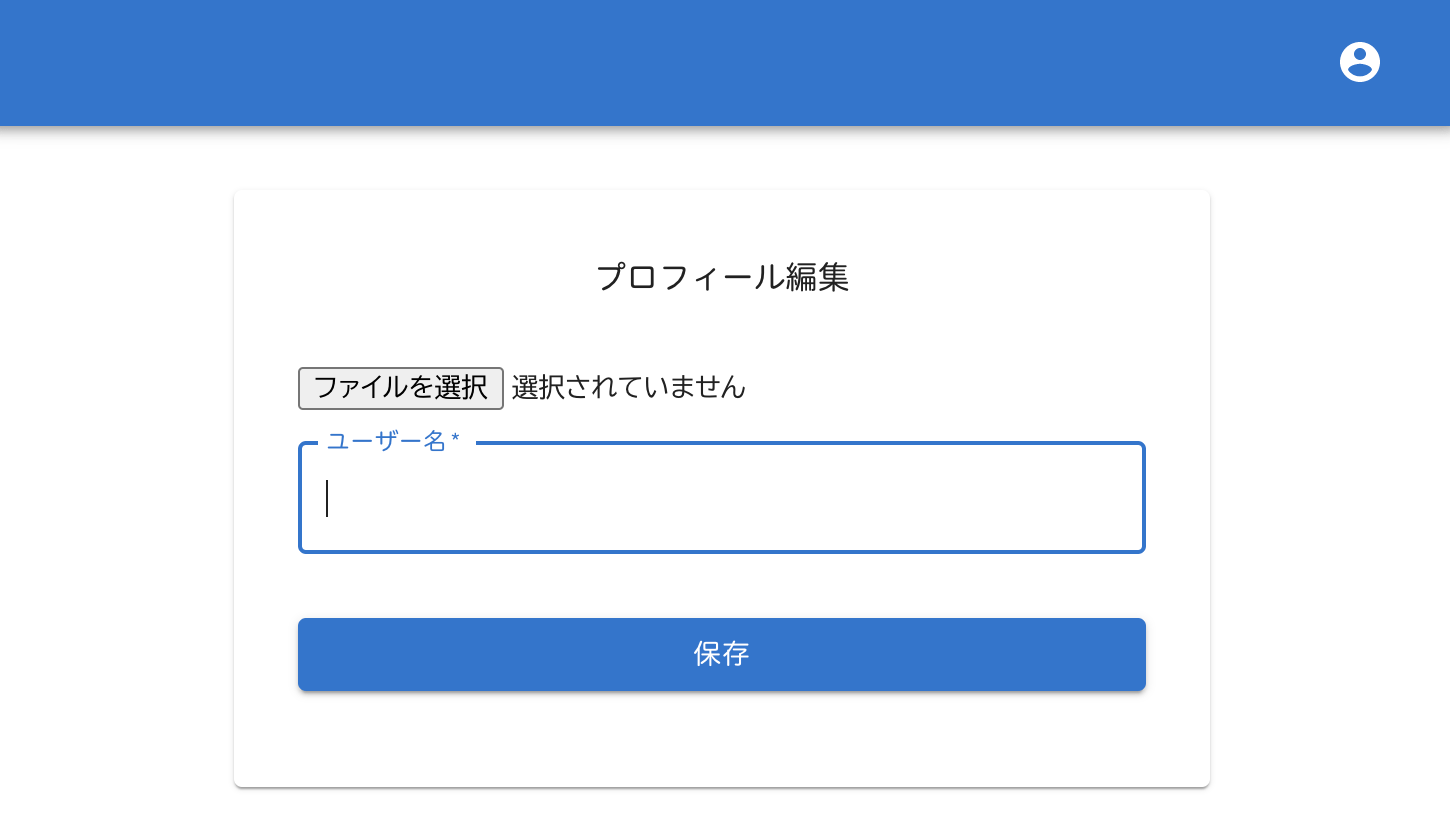
ヘッダーが表示されました。
ちなみに、ログイン画面では、

ヘッダーが表示されていません。
このままでは、ホーム画面でヘッダーが二重で表示されるので、Home.tsx のHeaderは削除しておきましょう。
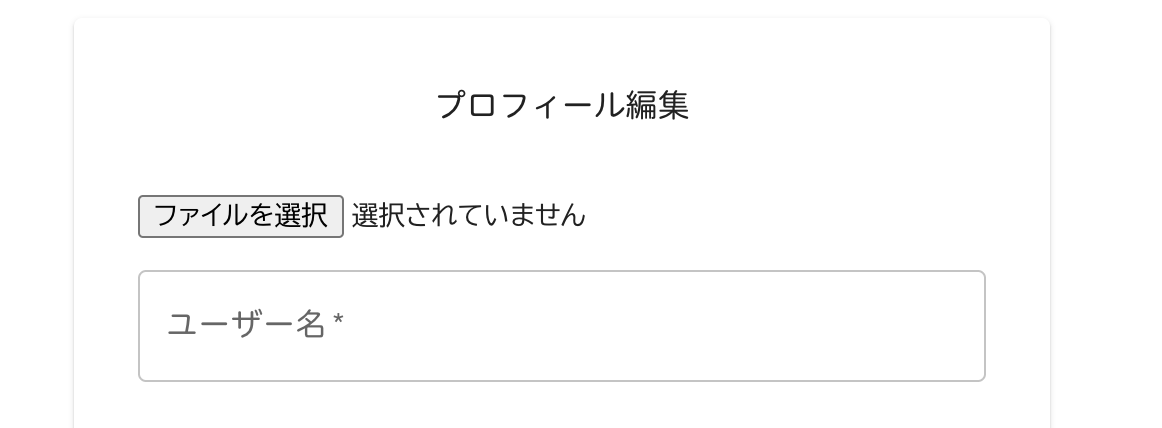
『ファイルを選択』をクリックすると、画像を選択できるようになっています。
HTML のレイアウトではなく、MUI のボタンを作成し、全体を統一します。
まずは、inputタグの下にボタンを作成します。
tsx
<Button variant="contained" color="primary" component="span">
画像を選択
</Button>
inputタグにidを追加します。
また、Buttonを label タグで囲みます。
labelタグにhtmlForを設定し、inputタグのidを指定します。
inputタグをdisplay:noneで非表示にします。
tsx
<input
id="image"
type="file"
accept="image/*"
onChange={handleChange}
style={{ display: "none" }}
/>
<label htmlFor="image">
<Button variant="contained" color="primary" component="span">
画像を選択
</Button>
</label>
では、動作確認してみます。

画像を追加し、Console を確認すると、
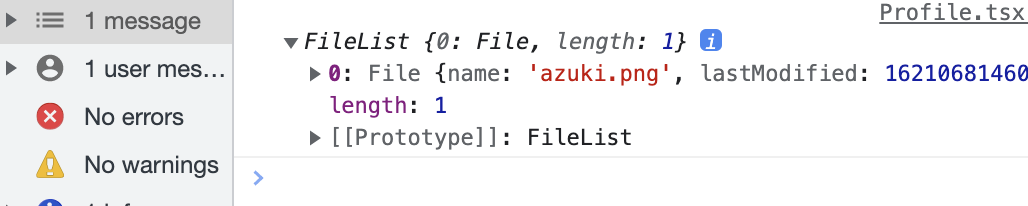
画像のデータが表示されました。
このままでは、画像が選択されているか、画面では分からないので、画面に画像を表示させます。
useState で画像データの状態を管理しましょう。
tsx
const [image, setImage] = useState<File | null>();
tsx
const handleChange = (e: React.ChangeEvent<HTMLInputElement>) => {
if (e.target.files !== null) {
setImage(e.target.files[0]);
}
};
次に、MUI のAvatarを使い、画像を表示する場所を作成します。
Avatarの src には、imageがある場合、URL.createObjectURLでimageを指定します。
imageがない場合は、””としておきましょう。
tsx
<Box sx={{ display: "flex", justifyContent: "space-between" }}>
<Avatar src={image ? URL.createObjectURL(image) : ""} alt="" />
<div>
<input
id="image"
type="file"
accept="image/*"
onChange={handleChange}
style={{ display: "none" }}
/>
<label htmlFor="image">
<Button variant="contained" color="primary" component="span">
画像を選択
</Button>
</label>
</div>
</Box>
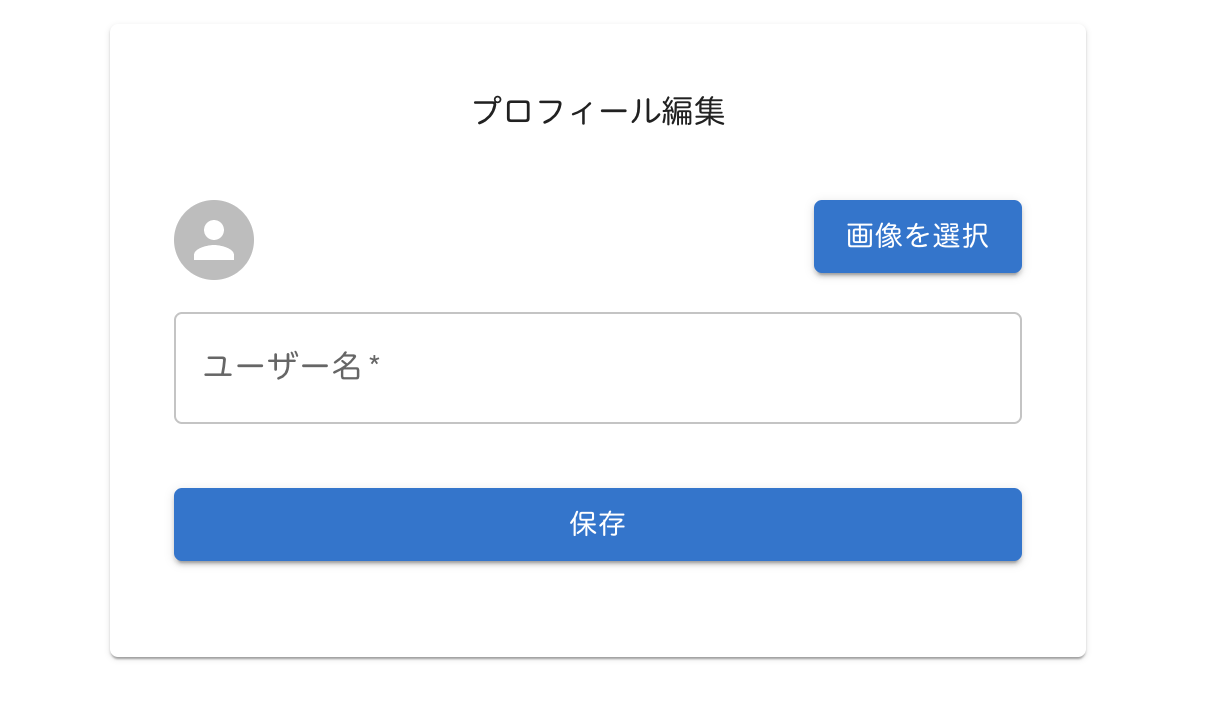
では、画像を選択してみます。

Avatar が設定されました。
画像が選択できたので、次は、Firebase の Storage に画像が保存できるようにします。
Firebase の Storage にアクセスします。
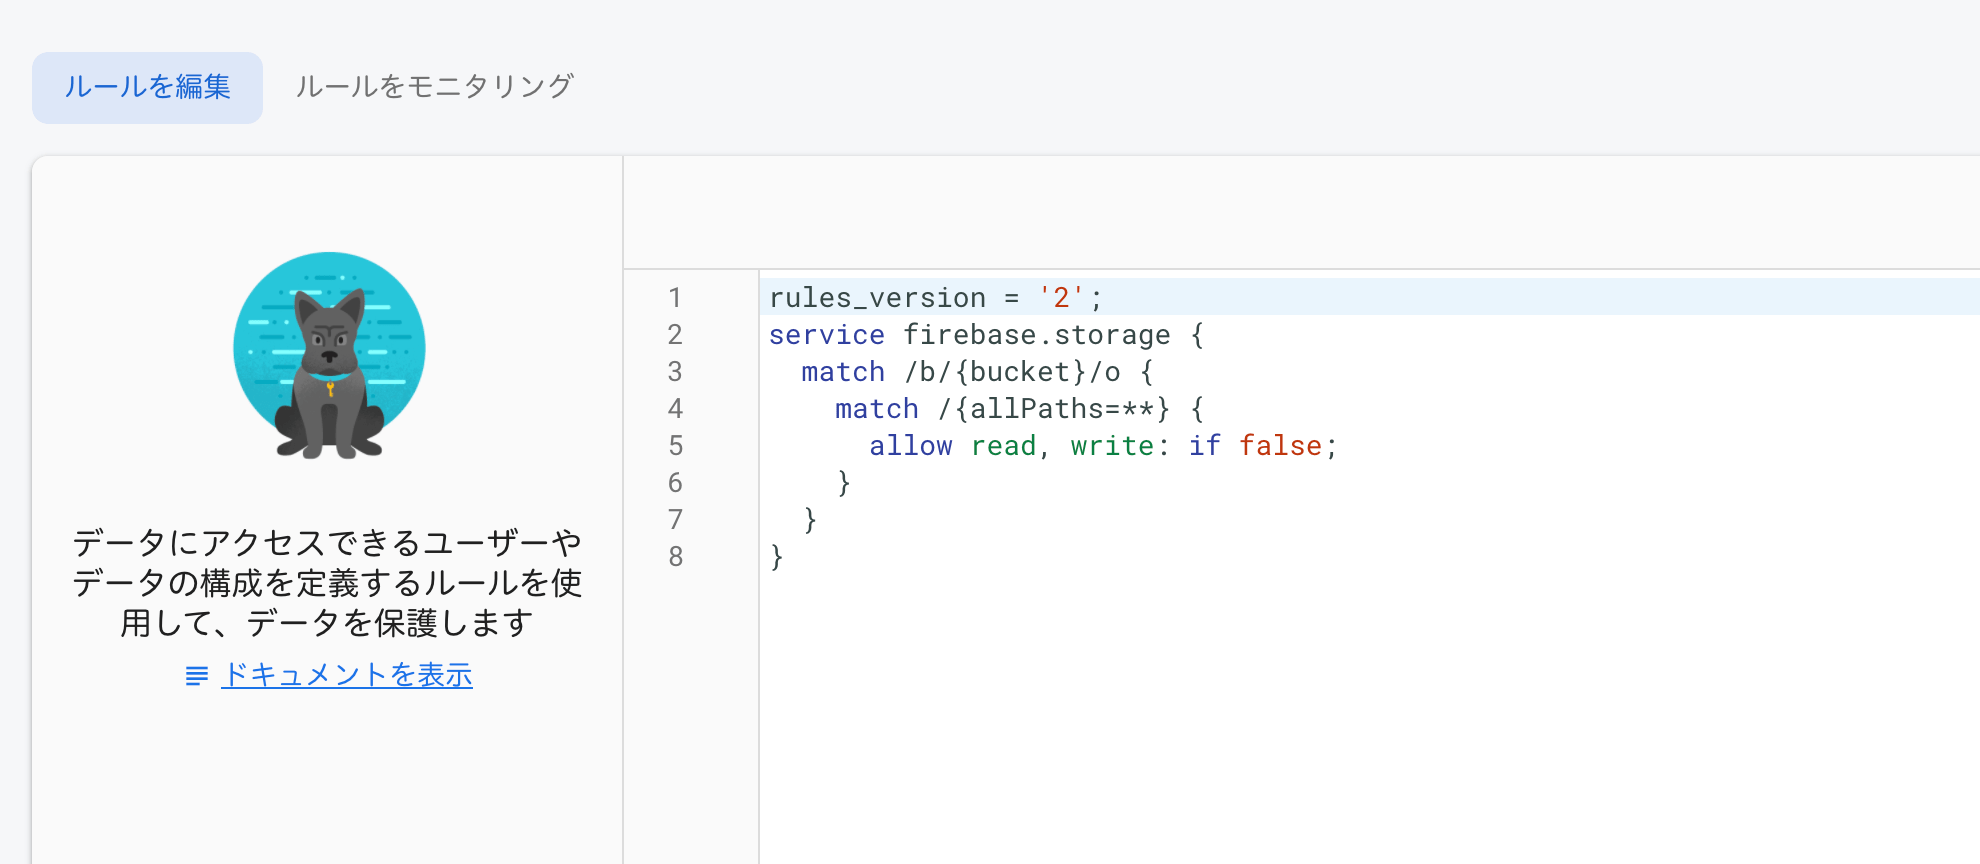
Rules タグをクリックします。
今のところ、ファイルの read や write が禁止されています。
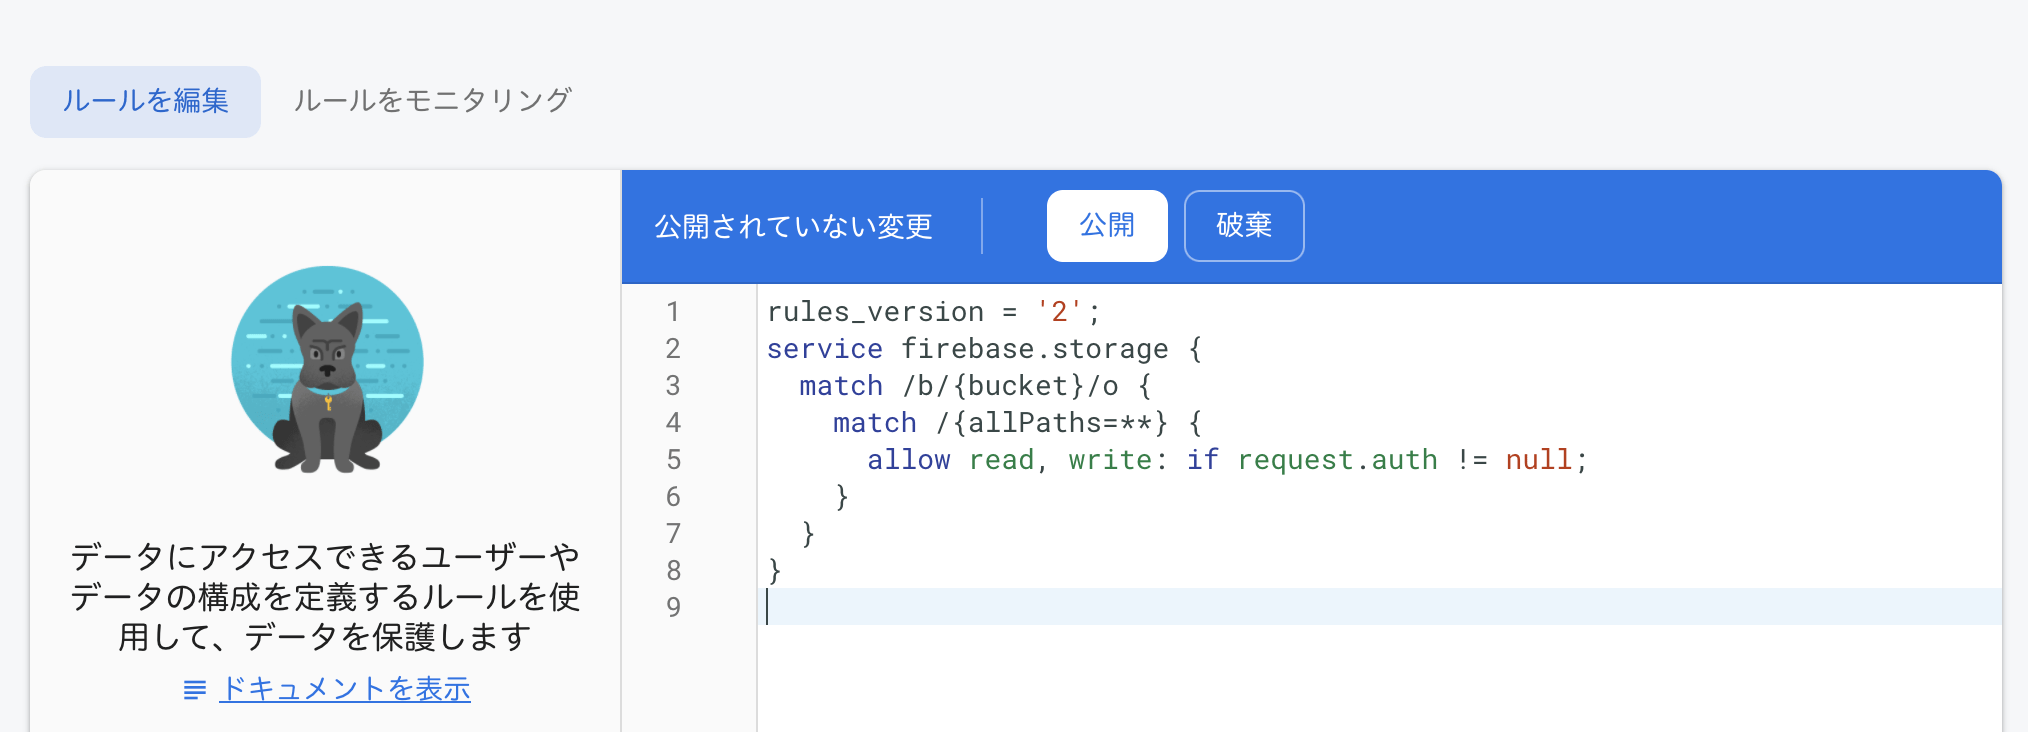
こちらを、認証されている場合は許可するようにします。
rules_version = '2';
service firebase.storage {
match /b/{bucket}/o {
match /{allPaths=**} {
allow read, write: if request.auth != null;
}
}
}
公開をクリックします。
Profile.tsx へ戻ります。
以前 Firebase の初期設定した、Firebase フォルダの firebaseConfig からfirebaseAppをインポートします。
Firebase の設定は、こちらをご覧ください。

【Firebase】Firebase Project Configを設定する

【Firebase】Firestore Databeseのデータを、フロントエンドに表示する

【Firebase】Storageで保存した画像をブラウザに表示する
firebaseAppのfirestorageを使用します。
tsx
const firestorage = firebaseApp.firestorage;
handleSubmit 関数内で、try/catch を使います。
catch の場合は、エラーメッセージを表示するようにします。
tsx
const [error, setError] = useState(false);
tsx
const handleSubmit = (event: React.FormEvent<HTMLFormElement>) => {
event.preventDefault();
try {
} catch (err) {
console.log(err);
setError(true);
}
};
tsx
{
error && <Alert severity="error">送信できませんでした</Alert>;
}
firebase/storageからrefをインポートします。
tsx
import { ref } from "firebase/storage";
ref の第一引数に、先程設定したfirestorage、第二引数にファイル名としてimageオブジェクトのnameを指定します。
tsx
try {
if (image) {
const imageRef = ref(firestorage, image.name);
}
} catch (err) {
console.log(err);
setError(true);
}
firebase/storageからuploadBytesをインポートします。
tsx
import { ref, uploadBytes } from "firebase/storage";
uploadBytesの第一引数に imageRef、第二引数に image を指定します。
thenでConsoleに送信内容を表示するようにします。
tsx
try {
if (image) {
const imageRef = ref(firestorage, image.name);
uploadBytes(imageRef, image).then((snapshot) => {
console.log("Uploaded a file!", snapshot);
});
}
} catch (err) {
console.log(err);
setError(true);
}
では、動作確認してみます。
『保存』をクリックすると、
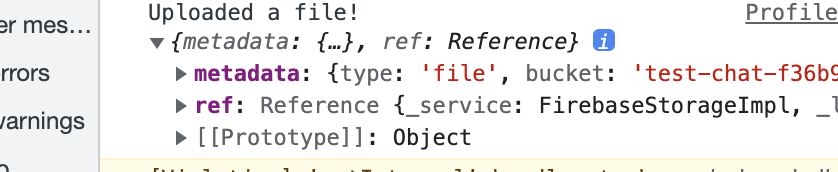
画像が送信されたようです、
Firebase の Storage を確認してみましょう。

画像が保存されていました。
次回は、

【Firebase】プロフィール画面で作成したユーザー情報を、Firestore Databaseに保存する