前回は、Prisma を使って、PostgresSQL データベースと接続しました。
今回は、Prisma を使って、PostgresSQL データを取得します。
コードは、前回のコードを使用します。
【GraphQL】Prismaを使って、PostgresSQLデータベースと接続する
スキーマを指定する
prisma フォルダの schema.prisma ファイルに、スキーマを指定します。
まず、Books という model を作成します。
id を作成します。
id の型を指定します。
id の型は整数にしたいので、Intを指定します。
prisma で ID を認識するために、@id を指定します。
毎回 ID を指定したくないので、自動で取得できる様にするために、autoincrement を設定します。
model Book {
id Int @id @default(autoincrement())
}
title、author、categoryId を指定します。
また、インデントを揃えると、見やすくなります。
model Book {
id Int @id @default(autoincrement())
title String
author String
categoryId Int
}
isRead は、デフォルトでfalseを指定します。
model Book {
id Int @id @default(autoincrement())
title String
author String
categoryId Int
isRead Boolean @default(false)
}
作成日を作成します。
作成日は、デフォルトで、now を指定します。
model Book {
id Int @id @default(autoincrement())
title String
author String
categoryId Int
isRead Boolean @default(false)
createdAt DateTime @default(now())
}
Book と同様に、Category も作成します。
model Category {
id Int
name String
}
では、一度テーブルを作成します。
テーブルを作成するには、ターミナルでnpx prisma db pushを実行します。

テーブルが作成されました。
作成されたかどうかを確認します。
ターミナルで、npx prisma studioを実行します。
自動で、ブラウザが開きました。
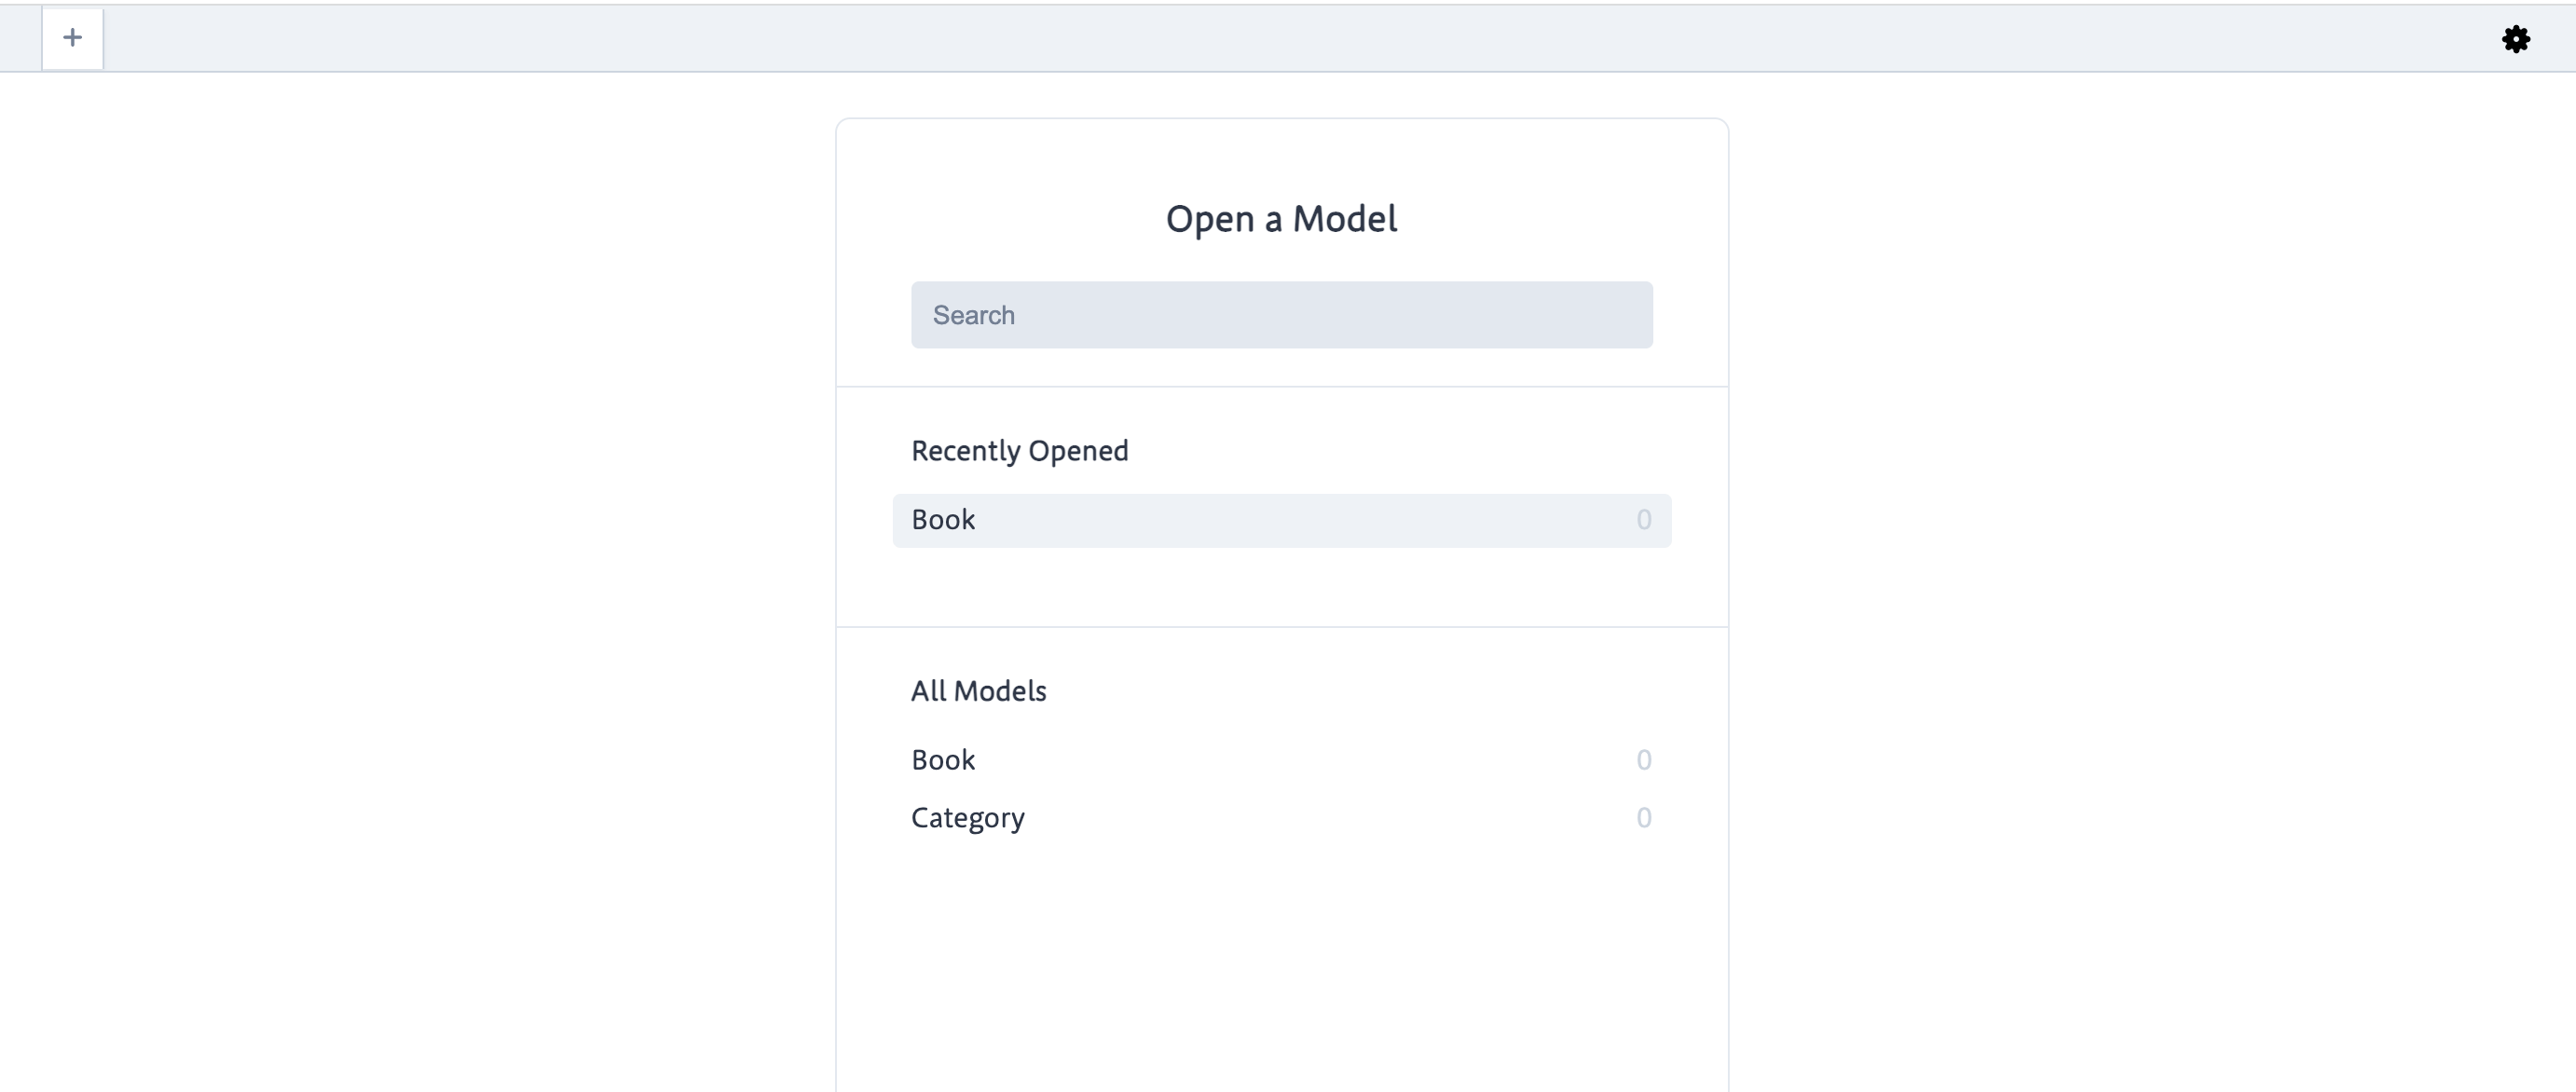
Book をクリックしてみると、

先ほど作成したテーブル名が表示されました。
リレーションシップを作成する
次は、Book と Category の関係を確立します。
Book の categoryId と Category の id を紐付けます。
Book の categoryId の下に category を設定しましょう。
model Book {
id Int @id @default(autoincrement())
title String
author String
isRead Boolean @default(false)
createdAt DateTime @default(now())
categoryId Int
category
}
category の中身は、Categoryなので、型はCategoryを指定します。
model Book {
id Int @id @default(autoincrement())
title String
author String
isRead Boolean @default(false)
createdAt DateTime @default(now())
categoryId Int
category Category
}
relationを使って紐付けます。
Book の対象は、categoryIdなので、fieldsにcategoryIdを指定します。
Category の対象は、idなので、referencesにidを指定します。
model Book {
id Int @id @default(autoincrement())
title String
author String
isRead Boolean @default(false)
createdAt DateTime @default(now())
categoryId Int
category Category @relation(fields: [categoryId], references: [id])
}
Category では、booksを設定します。
booksには、Book[]を指定します。
model Category {
id Int @id @default(autoincrement())
name String
books Book[]
}
では、再度ブラウザで確認します。
prisma studio を解除して、ターミナルでnpx prisma db pushを実行します。
npx prisma studioを実行します。

Book に category が追加されました。

Category にも books が追加されています。
Book と Category にデータを入れてみます。

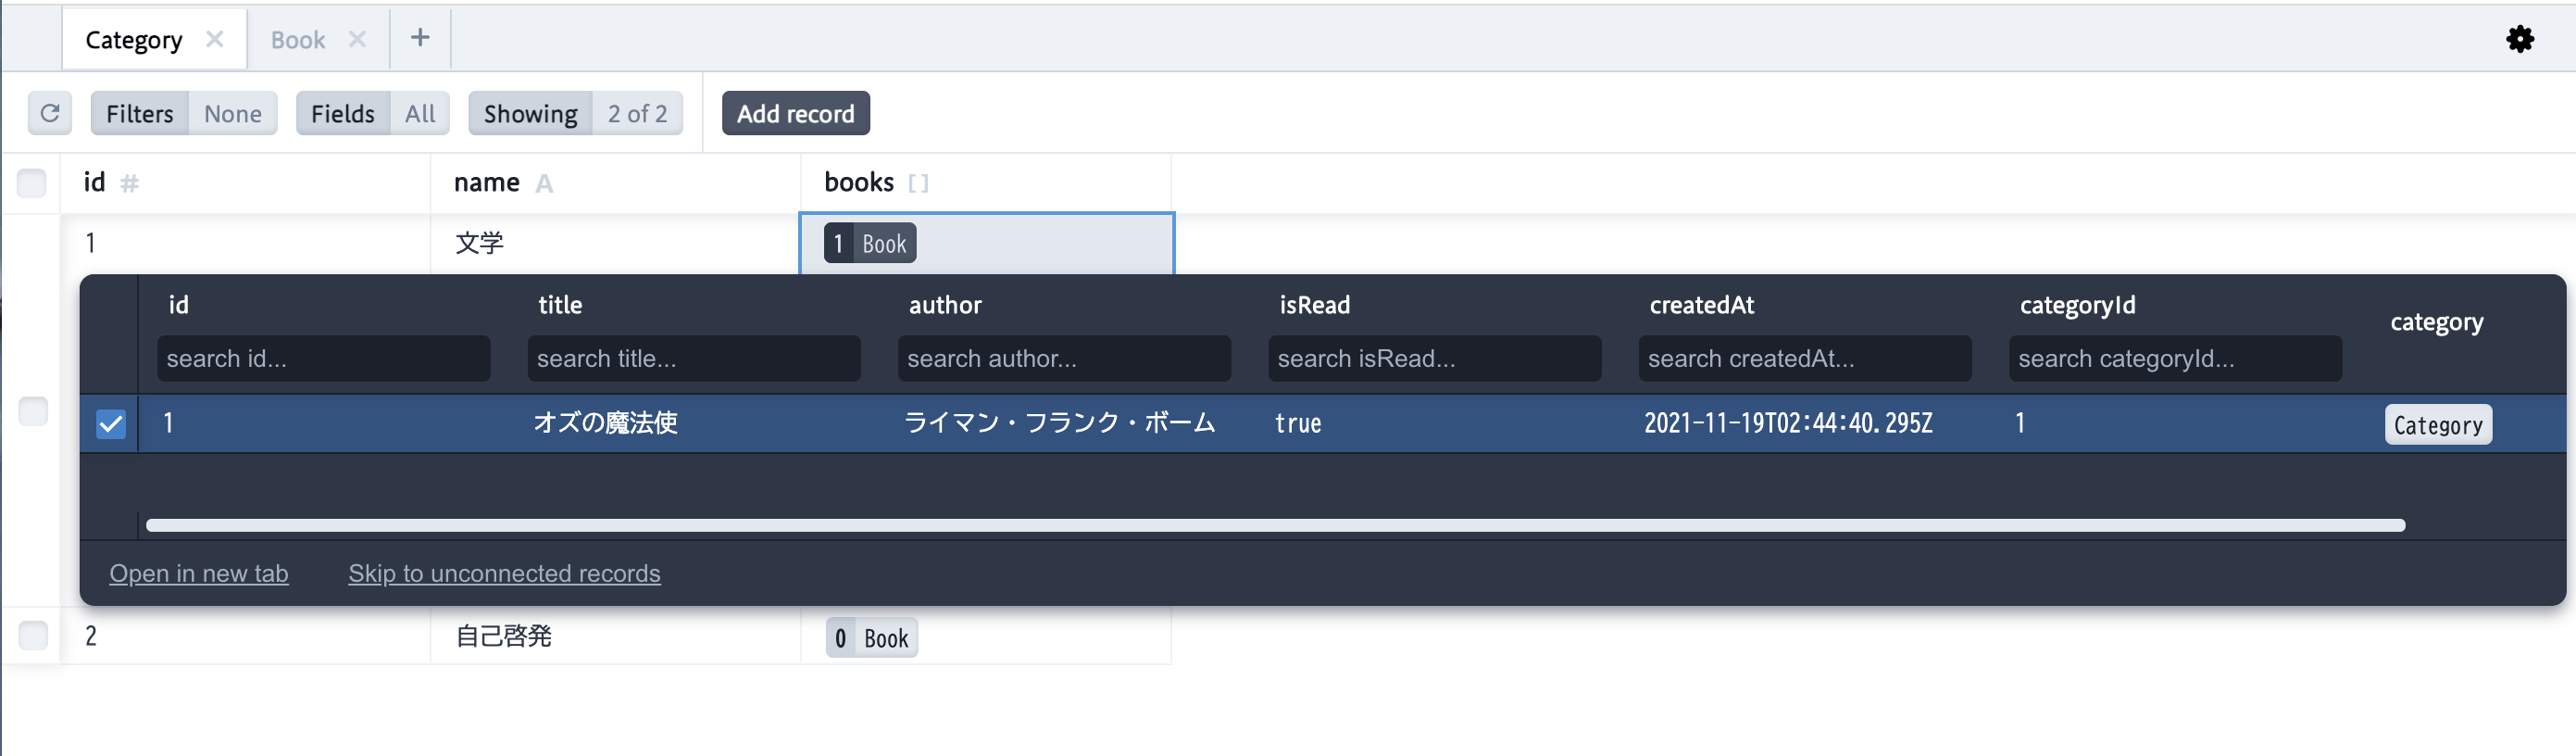
Book と Category の関係は、問題なく確立されています。
Postgres のデータを GraphQL で取得する
最後に、Postgres のデータを GraphQL で取得します。
まずは、index.ts で、PrismaClientとPrismaをインポートします。
ts
import { PrismaClient, Prisma } from "@prisma/client";
Postgres のデータベースを接続するために、PrismaClient を呼び出します。
ts
const prisma = new PrismaClient();
server内のdbをprismaに置き換えます。
ts
const server = new ApolloServer({
typeDefs,
resolvers: {
Query,
Mutation,
Category,
Book,
},
context: {
prisma,
},
});
context の型を作成しておきます。
ts
export type Context = {
prisma: PrismaClient<
Prisma.PrismaClientOptions,
never,
Prisma.RejectOnNotFound | Prisma.RejectPerOperation
>;
};
次に、shema.ts のスキーマを、schema.prisma で作成した型に合わせます。
ts
const { gql } = require("apollo-server");
export const typeDefs = gql`
type Query {
books(filter: BooksInput): [Book!]!
book(id: Int!): Book
categories: [Category!]!
category(id: ID!): Category
}
type Mutation {
addBook(input: AddBookInput!): Book!
deleteBook(id: Int!): Boolean!
updateBook(id: Int!, input: UpdateBookInput!): Book!
}
type Book {
id: Int!
title: String!
author: String!
createdAt: String!
category: Category!
}
type Category {
id: Int!
name: String!
books: [Book!]!
}
input BooksInput {
isRead: Boolean
}
input AddBookInput {
id: Int!
title: String!
author: String!
categoryId: Int!
isRead: Boolean!
}
input UpdateBookInput {
id: Int
title: String
author: String
categoryId: Int
isRead: Boolean
}
`;
resolvers フォルダの Query.ts を開きます。
books 内のdbを prisma へ変換します。
また、parent と filter は、取り敢えず『_』にしておきましょう。
ts
books: (_, _, { prisma }) => {
let filteredBooks = db.books;
if (filter) {
if (filter.isRead === true) {
filteredBooks = filteredBooks.filter((book) => {
return book.isRead;
});
}
}
return filteredBooks;
},
prisma に型指定をします。
型は、先ほど作成した Context を使用します。
ts
books: (_: any, __: any, { prisma }: Context) => {
let filteredBooks = db.books;
if (filter) {
if (filter.isRead === true) {
filteredBooks = filteredBooks.filter((book) => {
return book.isRead;
});
}
}
return filteredBooks;
},
prisma の findMany を使って、一覧を取得します。
ts
books: (_: any, __: any, { prisma }: Context) => {
return prisma.book.findMany();
},
では、GraphQL のサーバーを起動して、ブラウザで確認します。
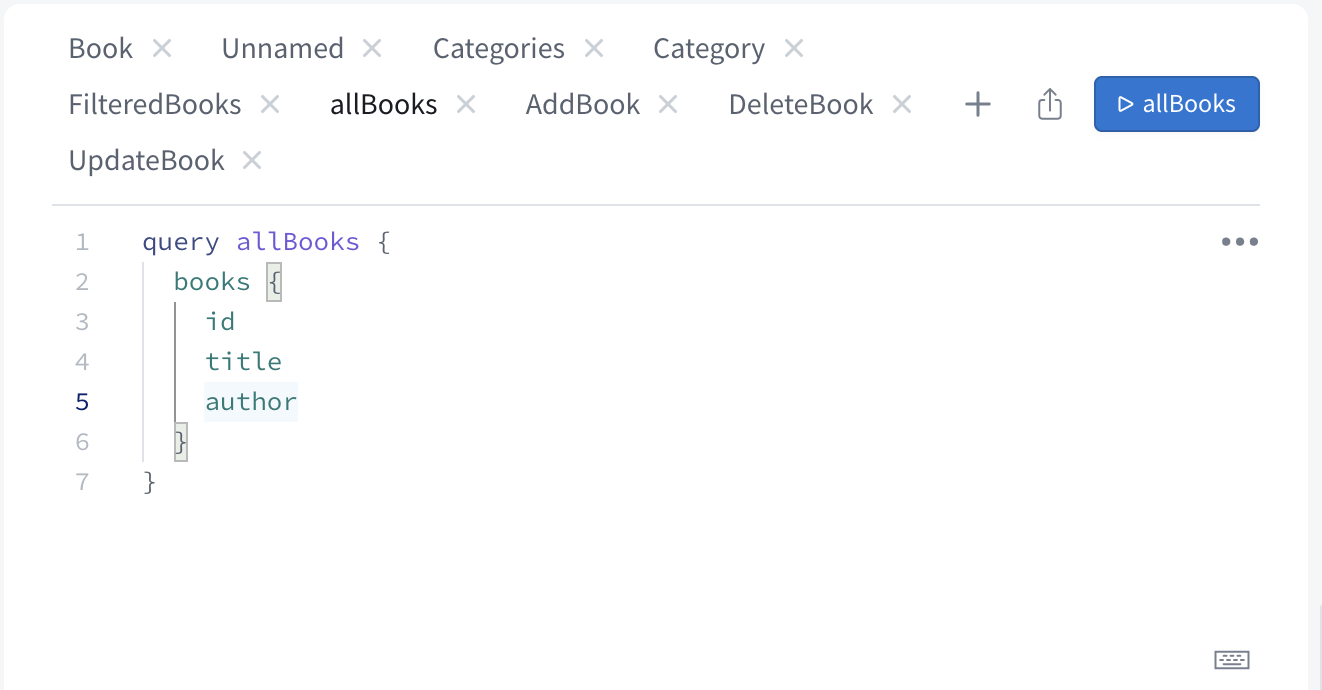
『addBooks』をクリックすると、
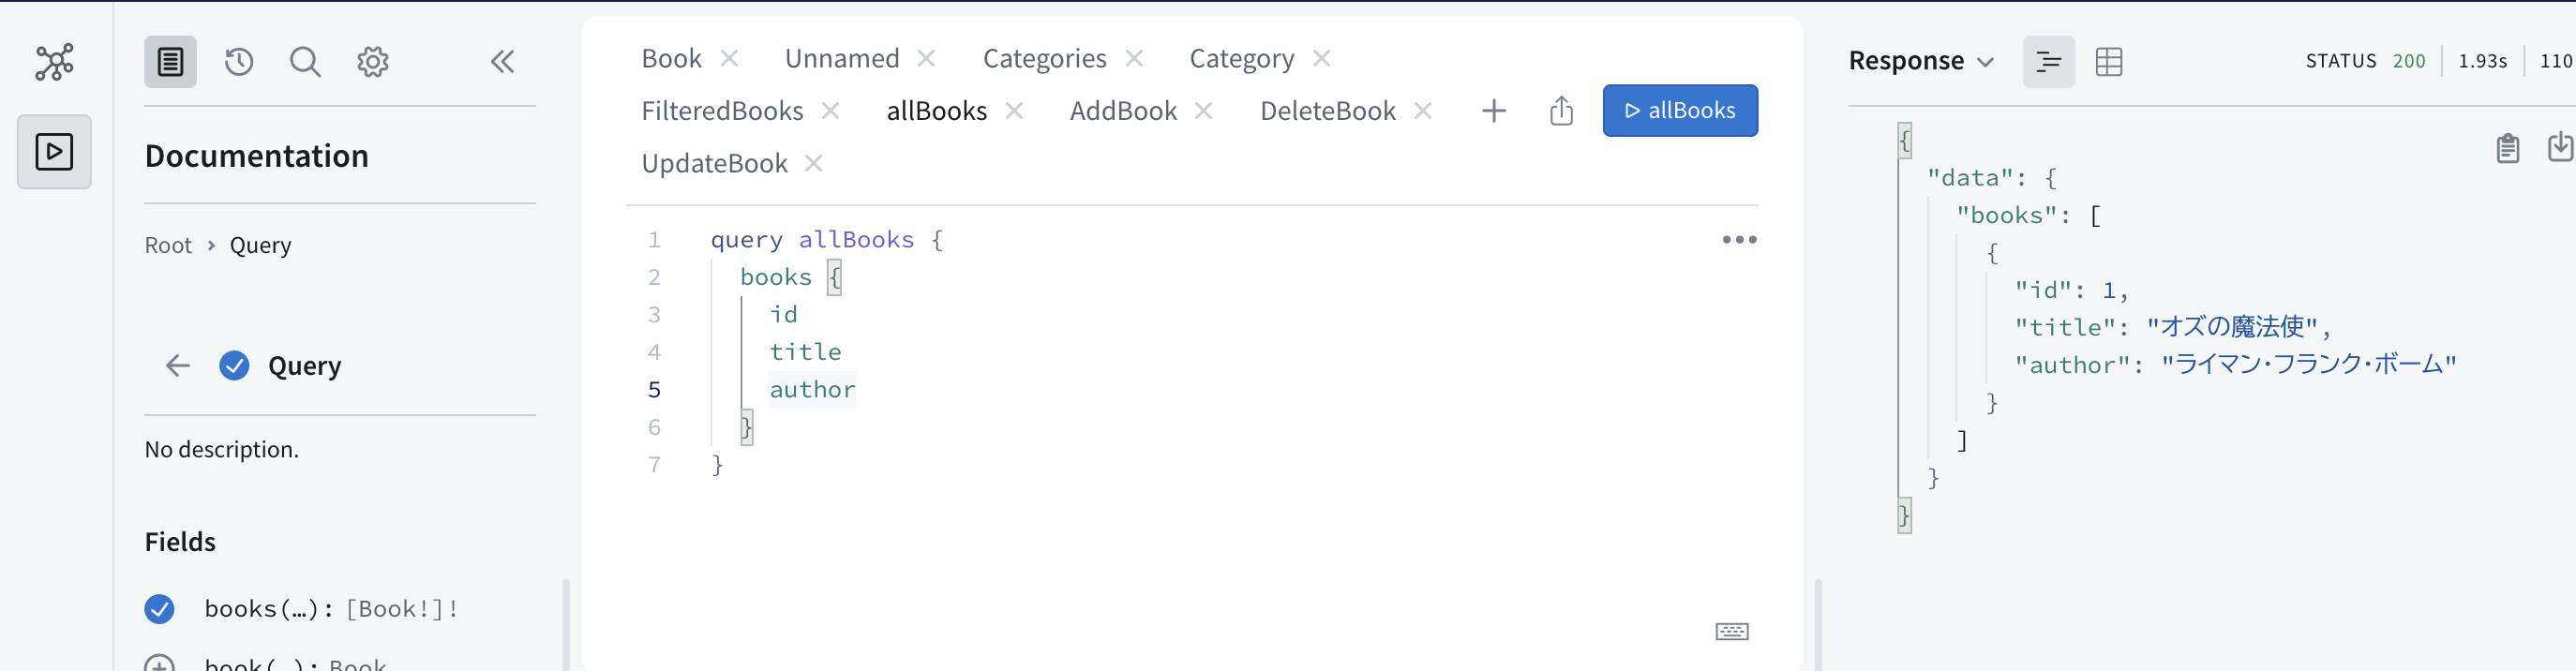
Postgres のデータを取得することができました。
以下が、全文です。
次回は、リゾルバ内を整形して、特定の PostgresSQL データを取得します
【GraphQL】Prismaを使って、特定のPostgresSQLデータを取得する